Tip of the Week: Freezing Fruit*
For my tip this week, I thought I’d
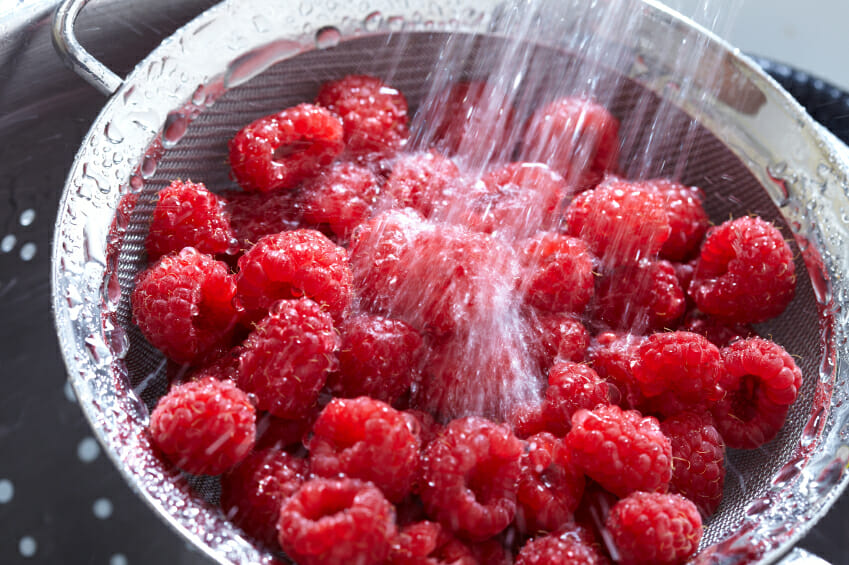
tell you how I freeze my raspberries, since we had our first big picking this
morning. First, wash them well and
drain them on dishtowels or paper towels lining a cookie sheet.
When they are pretty dry, line another
cookie sheet with tin foil, then lay the raspberries out on it one by one, not
letting them touch. Continue to do
this on additional sheets until they are all finished. Each time a pan is full, place it
carefully in the freezer for a few hours until they are totally hard. If you have a deep freeze, you can
stack them by criss-crossing the pans. Then get your freezer zip-lock bags
ready, lift up the tin foil off the pan by bending the sides together to form a
funnel, and they will slide right down into your bags.

You may need to bend the sheet of tin
foil around a bit to loosen them, but once you do, they will slide right
in. Now they’re ready to use all
next winter, grabbing out a handful at a time as you need them for smoothies,
raspberry shakes, jello, cereal toppings, or whatever. The nice thing about taking the time to
individually lay them out like this is that they become just like tiny little
ice cubes and you can just pull as many or as few out of the bag as you’d like.
You can do this for other types of fruit too. For example, you can cut peaches or nectarines into bite-sized pieces and freeze them this way. To keep them from turning brown, soak them briefly in a large bowl full of water with a teaspoon of lemon juice before laying them out to freeze.
This kind of individually-frozen fruit is great for smoothies!
*Originally distributed July 2014


No comments :
Post a Comment