Tuesday, August 18, 2015

Recipe - Dutch Oven Potatoes

Knowing how many Dutch oven cooking experts are out there, I feel a bit inadequate presenting my very basic instructions for Dutch Oven Potatoes.  Given my current lack of  kitchen equipment (I may have mentioned this once or twice!) I've had to rely more than usual on methods of cooking familiar to our pioneer ancestors.  My potatoes require only a few basic ingredients and are simple to assemble, making them a perfect dish for feeding a large group.  Here's everything you need to fill up whatever sized pot you happen to own (or borrow).
Potatoes, bacon, onions, cheese, chicken broth, and salt and pepper.  That's it!  These are always a crowd pleaser. You can cook them inside in your oven or outside with a few pieces of hot charcoal.  See step by step instructions below.
 Dutch Oven Potatoes
Slice the potatoes as uniformly as possible.  If you have a food processor, it saves lots of time.  I like to use red potatoes so I don't have to peel them.
Do the same with the onions, making them as thin as you can.
I use whatever bacon is on sale, but if it's not very lean, I discard most of the fat, as it goes in raw and I don't want extra bacon fat in my potatoes.  Cut it into small pieces.  I use a pound of bacon for a large pot of potatoes.
Using vegetable oil or shortening, wipe down the whole pot, including the sides and inside of the lid.  Start layering the ingredients in the pot.  The first layer should be a few pieces of the bacon.
Next, a layer of onions. . .
Then some potatoes. . .
Every time you do a layer of potatoes, salt and pepper well.  I like to use coarse grind pepper.  Now do a layer of cheese.  If you have more cheese than you'll be using in the potatoes, don't reach your hands into the bowl after you have touched the bacon, or you will contaminate the cheese for later use.  It's best to plan to use it all if you touch it with your hand that has touched raw bacon, and the same with the onions and potato.
Now do the whole process over again.  Bacon next . . .
Onions again . . .
I know, you are probably saying, "Okay, okay, I get it already"-- but I want to show all my pictures!  More potatoes, salt and pepper, and cheese again.  We're almost to the top, so throw in the rest of the bacon, and any extra onions.  Remember to salt and pepper generously over each layer--it takes more than you might think, and you don't want them to be tasteless.
Finally, open your can of chicken broth, and carefully pour about half the can around the edges of the pot.  You don't want it right in the middle, or it will wash off all the salt and pepper on its way down.  Apparently it's important to do this in your bare feet . . .
Cook, covered, with oven temperature anywhere from 275 to 350, depending on if you want them to cook a long time (like all during church) or get done more quickly.  I generally do them about 325 for 2 hours or so.  When they're done, add a final layer of cheese, as most of your top layer will have melted down into the potatoes and you want them to be nice and cheesy for serving.
Ready for the oven!  If you have questions regarding how to cook them outside using charcoal, a helpful guide can be found HERE.

Wednesday, August 12, 2015

Tip of the Week - Freezing Beans

One advantage of being in the midst of a big remodeling project is that I've had a good excuse to slack off on my usual summer canning and freezing.  For example, we purposefully planted only five tomato plants (instead of the usual 20-25), and just enough beans and other vegetables to eat, with no intention of filling the empty jars in my storage room this year.
I'm not even sure exactly where my canning equipment is right now--probably in some deep, dark recess of the garage.  Our smaller than usual garden was meant to just feed us this summer; I knew I wouldn't be able to work on canning projects in my torn apart kitchen.
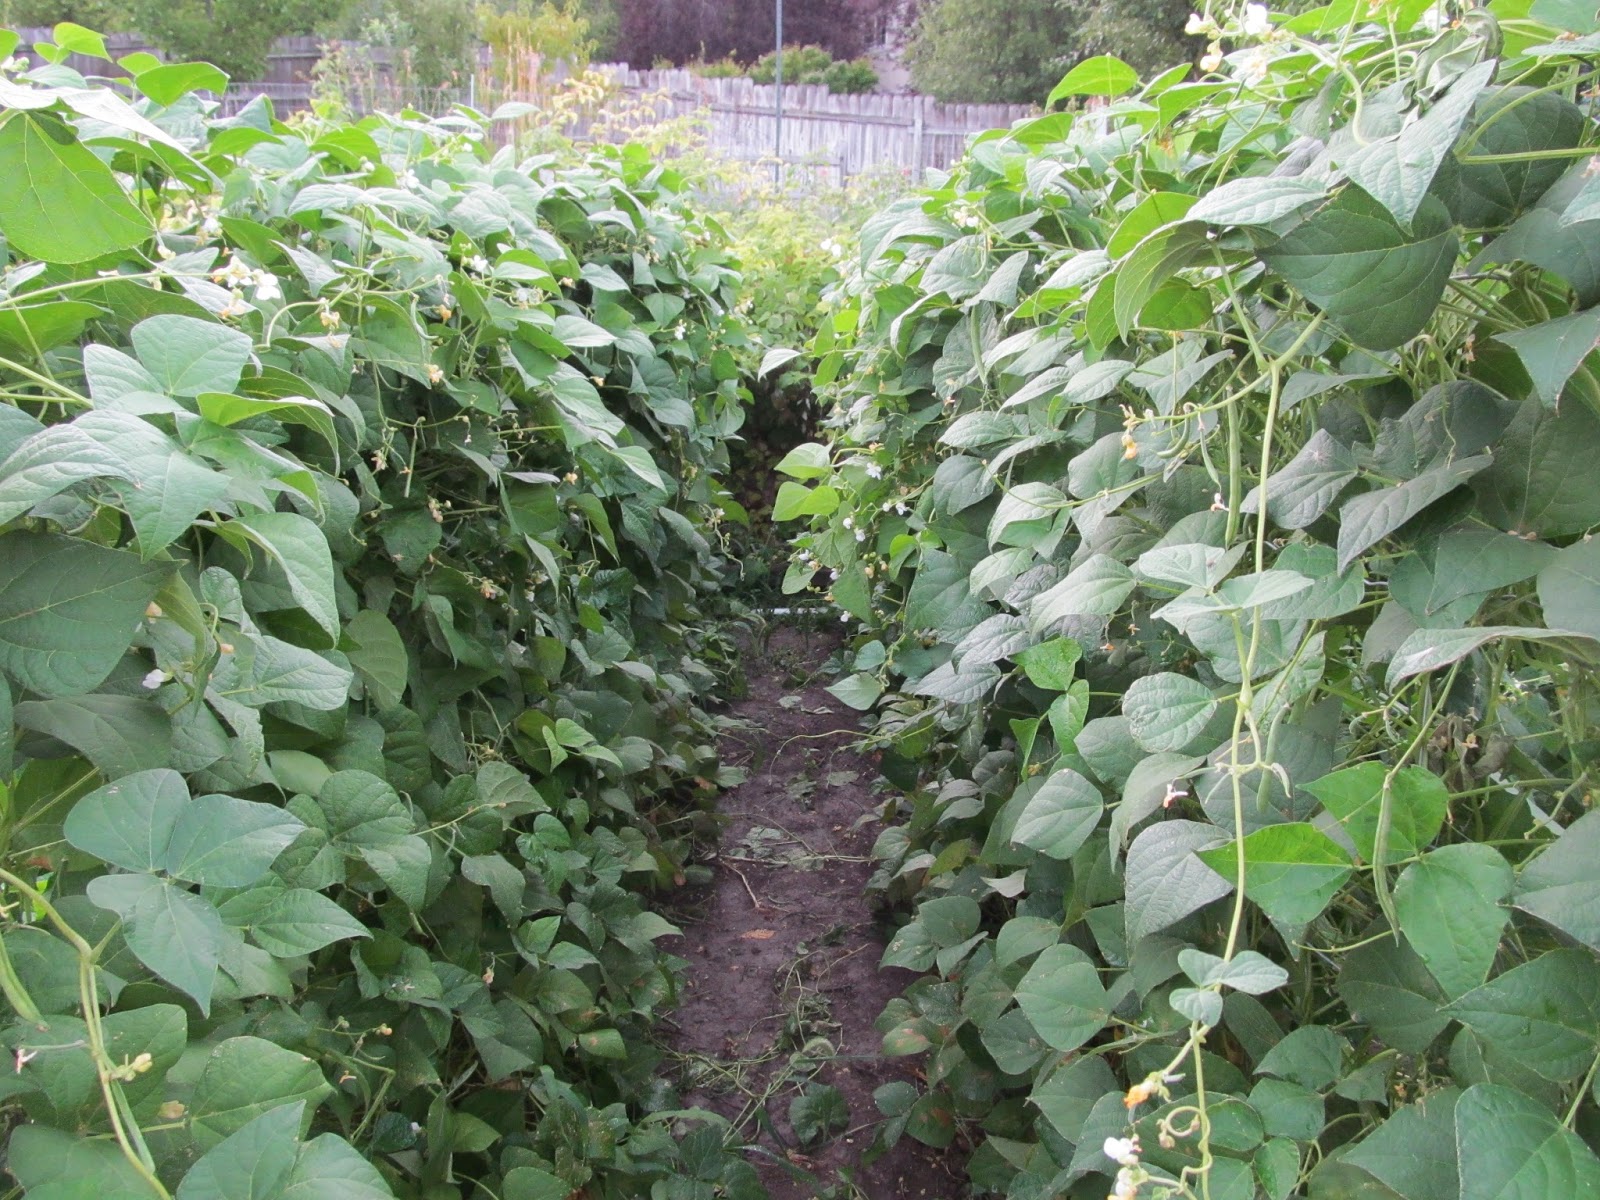
There's only one problem.  Someone forgot to tell the beans!  They are hanging in giant clusters like grapes in a vineyard. (This photo was taken after picking). We tried pole beans this year for the first time, and they are very prolific. Yesterday we picked bucket after bucket, and of course I can't let them go to waste.  I can't pressure can them, but freezing is another matter.  I like having individually frozen, long, straight beans on hand to make one of my favorite recipes, Green Bean Bundles.  (If you want to see the recipe, go HERE).  If you don't have your own beans, of course you can use store-bought individually frozen whole beans as well.
So I spent the day freezing numerous gallon bags of them, which is no small feat considering all the steps involved.  It's worth it though, because having them separately frozen and not all stuck together means I can reach in a bag and grab out just as many as I need, and I'll appreciate having them available for my various purposes.  If you are interested in my process for freezing beans, see below.

Freezing Beans

1.  Pick the beans.  After years of breaking our backs bending over to pick rows of bush beans, the pole beans allowed us to stand up and pick--except for the lower ones.
2.  Snip the beans.  This task can be relegated to almost anyone--including relatively small children.  I made use of a relatively large child.  It took him hours, but he got to watch TV while doing it.
3.  Wash the beans very well.  I refilled my sink with clean water numerous times and really got in there with both hands to scrub.  Here I'm scrubbing with one hand and taking pictures with the other!
4.  Put a big pot of water on to boil.  
5.  Toss in the clean beans in as many small batches as necessary, leaving them in about 3 minutes once the water has returned to a simmer.
6.  Prepare an ice water bath for the beans.  This will stop them from continuing to cook.
7.  Drain them in a colander.
8.  Lay them out on paper towels or clean dish towels.
9.  Lay another towel on top and press to absorb as much moisture as possible.  I like to flip my cookie sheet over with another sheet on top to let more water absorb on the second towel.
10.  When they are quite dry, lay them out on cookie sheets lined with tin foil. The more dry they are, the less frosty they will become in the freezer.
11.  Place in freezer for 2 or 3 hours.
12.  Pick them up in handfuls, keeping them going the same direction, and carefully place in freezer bags.  They will pick up easily like sticks.


 Now for the next batch!
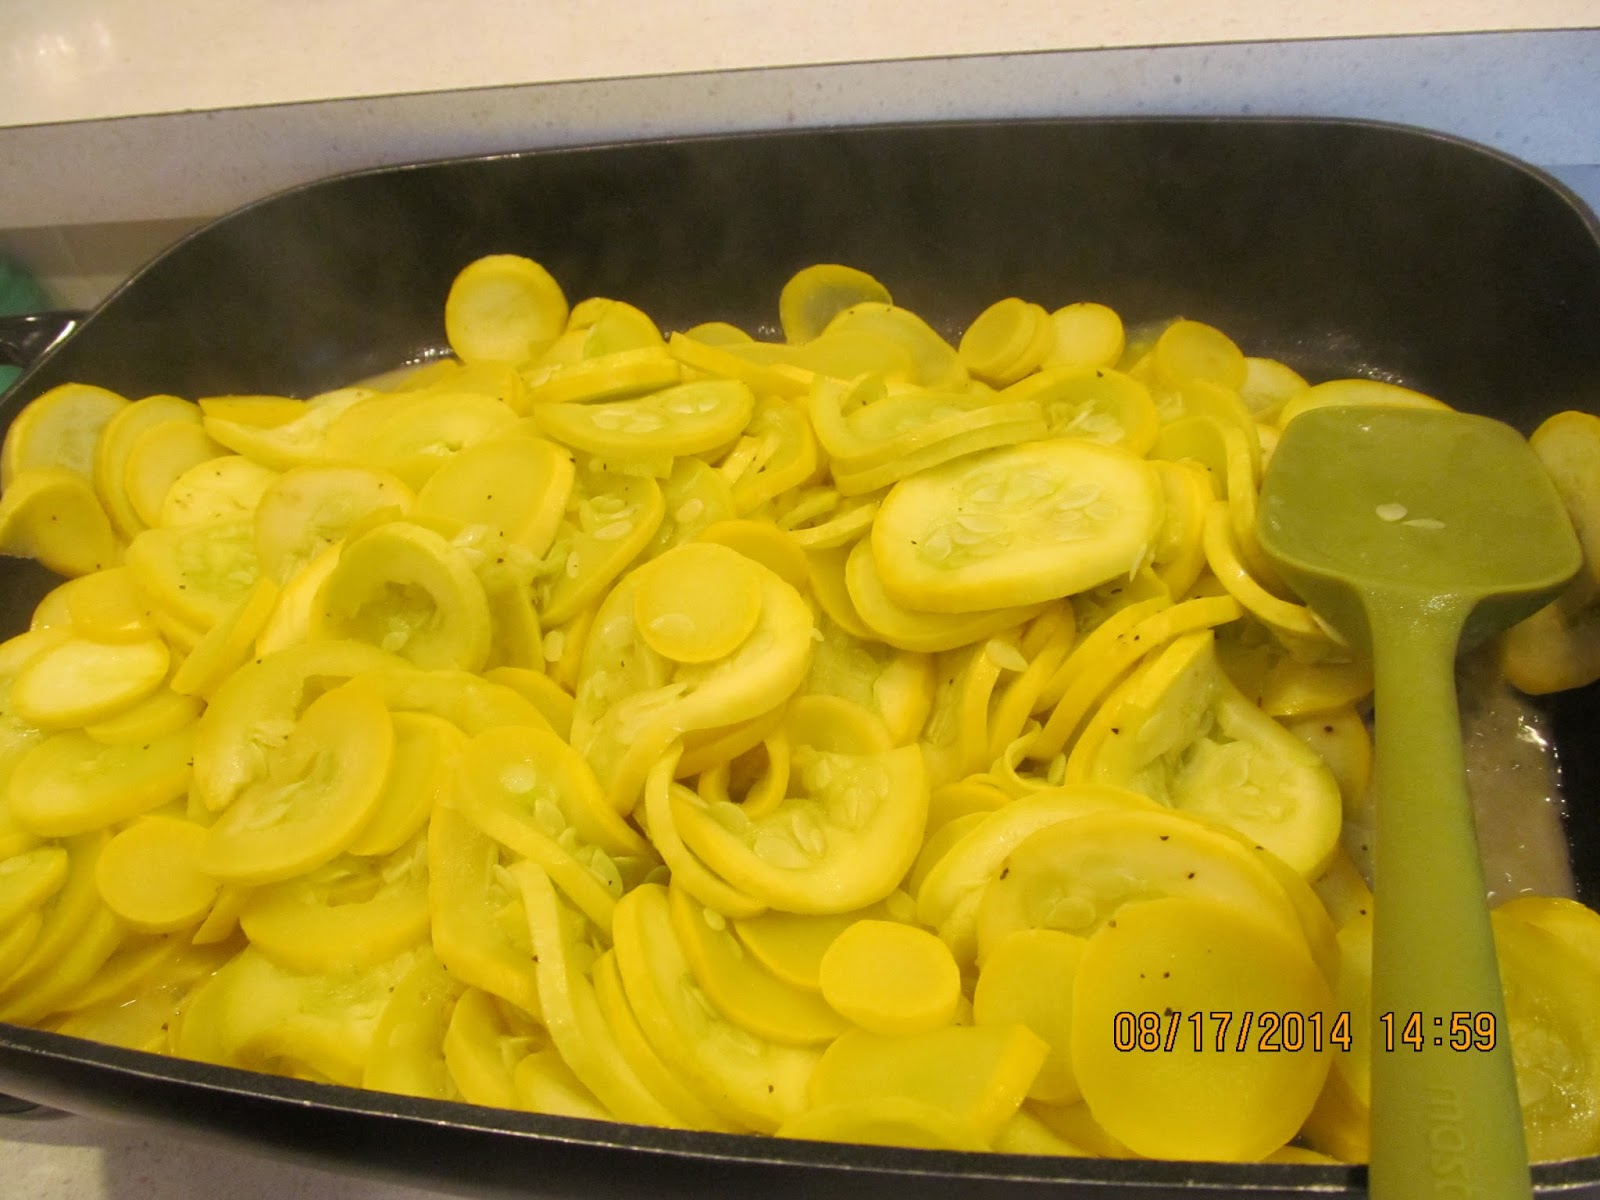
Tuesday, August 4, 2015

Recipe - Creamed Yellow Crookneck Squash

For those who couldn't quite bring themselves to try the squash blossoms from last week's post, I have a great summer dish for you that everyone can appreciate--Creamed Yellow Crookneck Squash.  During July and August we usually have some form of summer squash for dinner every night--from Stuffed Zucchini to Crispy Squash to just plain toss-it-in-the-skillet and saute in butter or olive oil.  Creamed is how my mother always prepared Crookneck for us. You only need four things:  First, the squash itself.  As you  can see, I pick mine while they are still young and tender.  No big-old-turning orange-bumpy squash for me.  
Second, you need some butter, evaporated milk, salt and pepper, and your favorite 30 year old skillet with the broken handle.  Nothing fancy here.
The next item you may not own, but I sure am glad for mine.  It comes out of hibernation every summer to bring joy into my life once again.  This slicer was manufactured back in 1952, when life was simple and most things didn't plug in. It's over 60 years old!  This tool creates perfectly uniform slices of squash, resulting in more even cooking. 
It literally only takes only minutes to slice up a whole big bowl of squash.  But now I'm just bragging.  You can use a regular knife and your finished product will be just as tasty as mine--I promise.
I love this original vintage box, which came with it at the DI, where I buy all my nifty little kitchen gadgets. (Who in their right mind would get rid of this?)  The fine carbon steel blade has sliced effortlessly through hundreds of squash, and takes about 30 seconds to wash and put away.
At the risk of sounding like an old timer, they just don't make things like they used to!  I wouldn't trade this little buddy for anything, and I care for it most tenderly, always taking it apart and cleaning the blade right after using to protect it from corrosion.  I don't really keep it in the box, which I'm hoping to sell for use as a movie prop one day!  Seriously, don't you love the charming graphics?
To view more photos showing Mom's simple and delicious method for making Creamed Yellow Crookneck, scroll down past the grocery listings.

 Creamed Yellow Crookneck Squash

- First, slice your squash in about 1/8" to 1/4" slices, making them as uniform as possible.  You can use any kind of slicer you have, or just a sharp, thin bladed knife. 
Remember that it cooks down, so you need quite a bit.
-Next, melt about a half stick of butter in your pan.  Sometimes I use an electric skillet for this.
-Add the squash in several layers to the pan, salting and peppering between each layer.
-At this point, turn the pan to low, put on the lid, and let steam a bit to get it going good.  It will  start to shrink as water comes out of the squash.
Stir occasionally.  After awhile, you will want to remove the lid to start drying up the excess liquid.
I fried some pork chops at the same time.  I have been relying on my electric skillets while my kitchen is torn apart.  This was a very easy dinner.  We had the pork chops and we had large servings of squash.  That was it!  The boys were perfectly happy.
Whenever I fry pieces of meat in a pan like this, which isn't very often, I think of my Grandma.  She was a fabulous cook, but Grandpa was a simple, meat and potatoes kind of guy.  Whenever I wandered into her kitchen around suppertime, she had their places neatly set at the counter and was frying something at the stove.  It always smelled wonderful, warm, and welcoming, like all was right with the world.  I remembered those feelings while I was cooking us these pork chops.

But I digress.  It will take about a half hour, but you want to let the squash get well done.  Forget the crisp-tender rule--this isn't a restaurant!  Mom actually doesn't add the milk to hers until bits of brown start showing up.  I tend to take mine off the heat a bit sooner, but I love how she does it too.
Now it's time to add the canned milk.  But first taste it and see if it needs more salt and pepper.  I like lots of pepper.  If it tastes good, just pour some milk in right out of the can with it still bubbling over the heat.  You will be able to tell when it's enough.  It will thicken right in with the squash and make it creamy, but not at all soupy. 
Let it cook a bit more, then remove from heat and serve immediately.  Enjoy!