Tuesday, September 22, 2015

Recipe - Sunday Pot Roast

Fall is in the air and it's time to pull out those hearty recipes that seem to fall by the wayside during the warmer months.  Nothing is more comforting than coming home from church to the smell of meat, potatoes, and vegetables simmering happily away in the slow cooker.  My Sunday Pot Roast is so simple that even the most faithful Sabbath-keeping person will approve!  I used my garden potatoes, but any kind will do.  I think carrots and onions are a must, but you can also add extra veggies such as celery, as well as any kind of seasonings you like.  I tend to stick to the basics of salt, pepper, and beef-based seasoning packets, as explained below.  Using these short cuts, the gravy almost makes itself, and some nice hot rolls or cornbread with honey butter complete this family-pleasing meal.

Maceys is offering Boneless Beef Sirloin Tip Roast this week for $3.99/lb.  Smith's has the same price for their Boneless Rump or Chuck Roast.  That's a far cry from the price of beef a few short years ago, but it seems to be our new reality.  This would be the perfect cut of meat for this week's recipe, but most any lean, boneless beef roast will be tender and delicious after spending a day hanging out with veggies in your Crock Pot. I used rump roast last Sunday and after 8 hours it was just perfect.  See easy instructions below.
Sunday Pot Roast 
The ingredients you need to make this dinner are:

-A lean, boneless beef roast, any size you wish.  My roast was 4 lbs and served 8 to 10 people.  It took about 8 hours to cook in all, so if you wanted to eat at 5:00 p.m. on Sunday, for example, you should get it going soon after 8 a.m.  You could get by on a shorter cook time with a smaller roast or cooked for a longer period of time on high before turning it down to low.
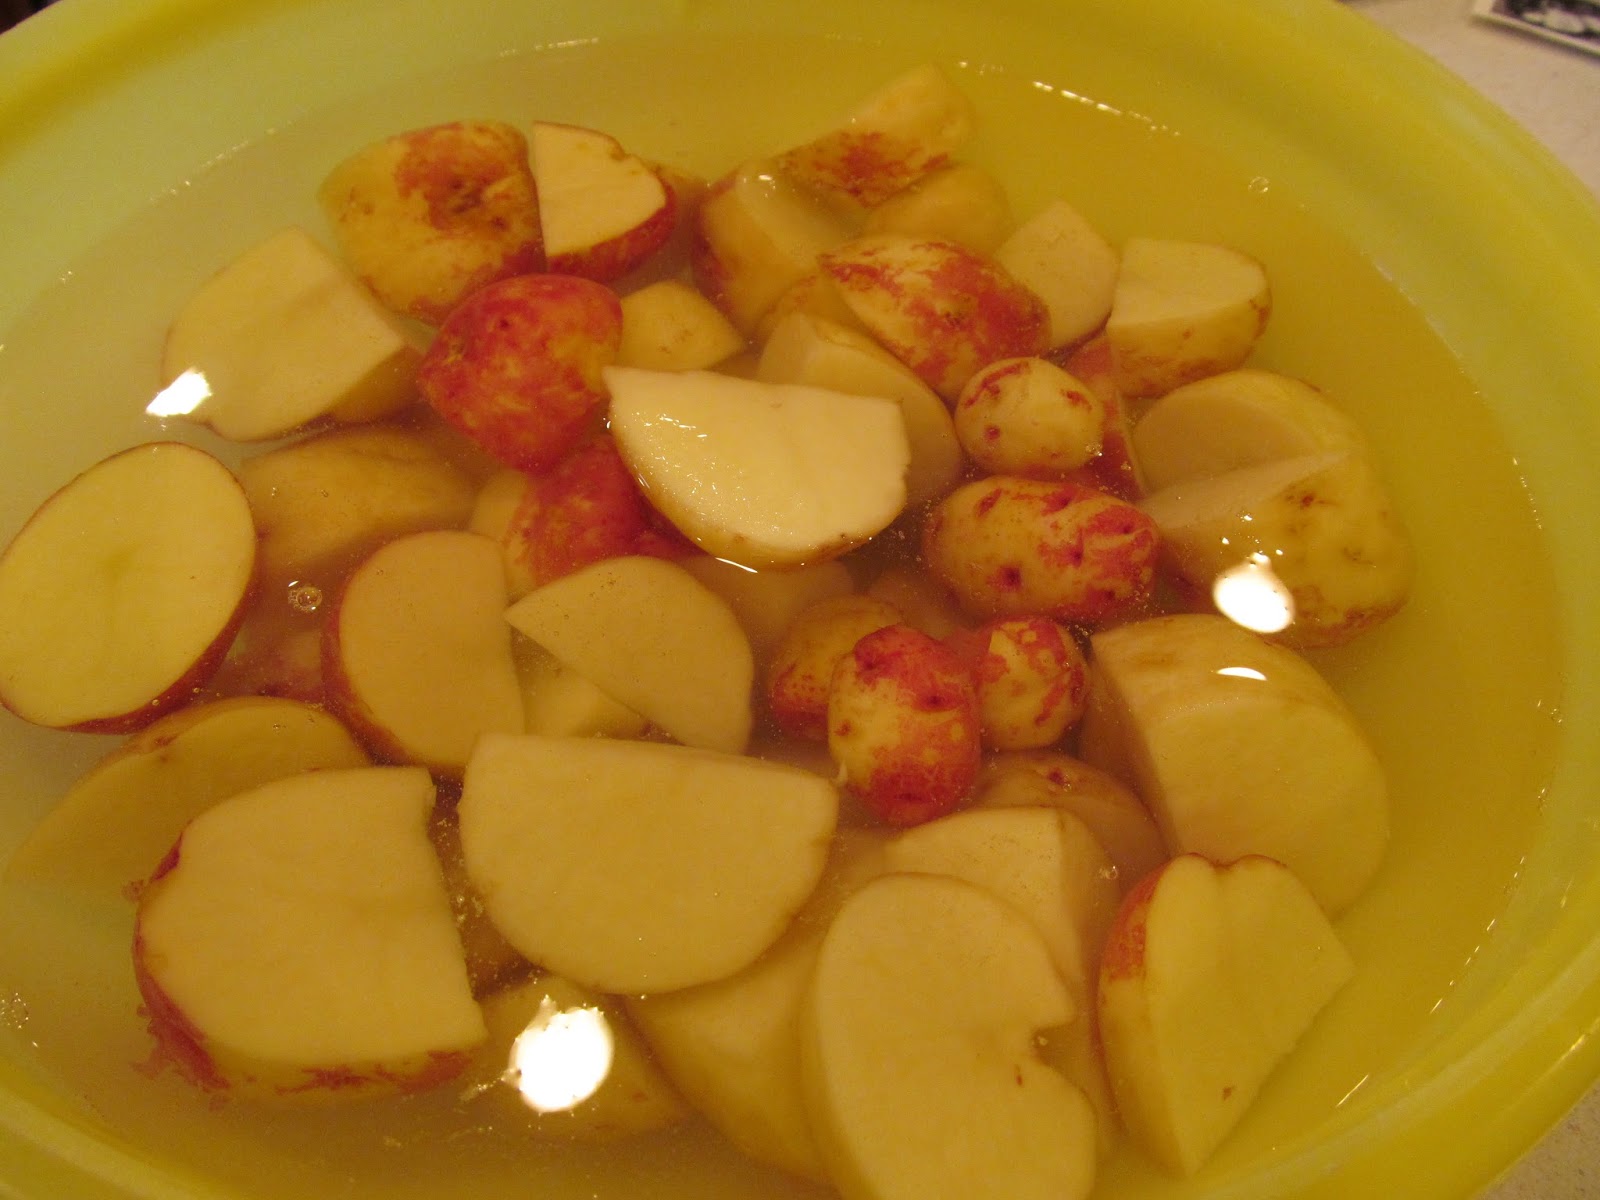
-Potatoes, carrots, and onions, cut into chunks.  If you get the vegetables ready ahead of time, keep them in cold water until ready to add to the roast to prevent browning.
-An Au Jus Gravy Packet (Two packets if your roast is 3 to 4 lbs and/or you want to make extra gravy at the end), and a Lipton "Recipe Secrets" Onion Soup mix packet.

-Salt and Pepper

That's all you need!  Now for a Slow Cooker.  The size will depend on how big a roast you are planning to make.  For a 4 lb roast or more, you will want a large crock pot, but if you are doing a small roast for just 2 or 3 people, you can also do it in your small one.  The one I am showing is from the early 70's (it was my mom's) and they don't make these anymore.  It is actually a removeable crock that sits inside an electric fry pan.  I like using it because there is a large, flat area for the roast to sit surrounded by veggies, and I can pile a lot on top as well because of the domed lid.  My family used this so much when I was growing up that when it looked like the crock might be about to crack, my Dad wrote the company to see if they had a replacement crock, which they did, even though it had been out of production for years by then.  He couldn't bear the thought of no more slow cooked pot roast and veggies!  Of course in the years since then, large, oval shaped pots have come out that are just as effective for this process, but I still like using my flat, square pot.
1.  Turn the slow cooker to high and sprinkle half a package of the Au Jus mix over the bottom of the pot. 
2.  Rinse the roast and season well on all sides with salt and pepper.  Lay it in the pot over the seasoning mix. Add onion pieces, arranging them on top of the roast and around the sides.  Salt and pepper the onions and sprinkle on the rest of the packet of Au Jus. 
3.  Close the lid and cook on HIGH for an hour.  Then turn heat to LOW and cook another 2 hours.  After this time, add the carrots and potatoes, salt and pepper generously,  and sprinkle with the onion soup mix.  

4.  Close the lid and continue to cook about another 4 to 5 hours on LOW.
5.  At some point toward the end of the cooking time, poke a toothpick into the carrots and potatoes to see that they are getting tender and to judge how much longer to cook.  If they are getting plenty soft and you aren't ready to eat yet, just turn it to the "keep warm" feature on your crock pot or keep on low for up to an hour longer if you need to.

6.  When you are about ready to eat, very carefully, using pot holders, drain all juices from the bottom of the crock into a medium saucepan, holding back the meat and veggies with the lid.  Get a good tight grip on the crock and lid at the same time so everything doesn't come crashing down! (I speak from experience).  Then replace the lid on the pot and keep the meat and vegetables warm while you make the gravy with the pan juices. 
7.  Whisk up a thickener of flour and warm water for the gravy.  I never think about the proportions, because you can always add more flour or thin it out with more water, or make more altogether if you need to.  You want the consistency to be about like heavy cream, and it will take about a half cup of flour I think.  Strain out any lumps.  If you want extra gravy, whisk a half cup of water or so into a second packet of Au Jus mix and add this to the broth to extend it.  Bring it to a hard boil on the stove, then whisk in the prepared thickener until it comes to the desired thickness.  Remove from heat as soon as it reaches this point--don't continue to let it boil on and on or it will thin out again. Just make sure it simmers a minute or two to cook the flour.
8.  The gravy can either be passed at the table, poured directly over the dinner in the pot, or both.
9.  You can either slice the meat in the pot, remove it for slicing, or just pull it into chunks with two forks.  I kind of like to just leave it all in the pot for ease of clean up, if it's just us.
10.  If you have leftovers, you can dice everything up, add the extra gravy, and serve as stew another night.
Enjoy your Sunday Dinner!

Tuesday, September 8, 2015

Savings for Sisters #149 - Indian Dinner

I only make Indian food about twice a year.  The reasons for this are two-fold.  First, my husband, my son and I are the only ones in the family who like it.  Maybe I should rephrase that.  We are the only ones who have tried it.  Let's just say we have a few unadventurous eaters in our family, which is sad because folks miss out on a lot of delicious food when they aren't willing to try new things.  The second reason I only make it twice a year is that it's pretty time consuming.  Or maybe it just feels that way when I go to so much work to prepare a dinner for three people.  Soon to be two.  My son Dylan is beginning his last week at home before his mission, and I have been basically catering to his every whim.  German Pancakes for breakfast on a weekday?  Of course!  He likes to prey on my sorrow by reminding me several times a day that he won't be able to do this or that or have this or that for two years!  One of the final things on his food wish list was that I make Indian Dinner, which in our family consists of two dishes--Chicken Curry and Chicken Tikka Masala, accompanied by Basmati Rice and Naan Bread.  I have long since given up trying to make my own Naan bread, because it's just never as good as buying it at the store and warming it in the oven with butter, garlic, and cilantro.  I wasn't able to take photos of the process, but I think my instructions are clear enough for anyone willing to give it a try.  I have tweaked these recipes over the years, and they turn out perfect.  If you enjoy introducing your family to new flavors or like ordering Indian food in a restaurant, it's well worth the effort and you may even begin a new tradition everyone will love.
 Indian Dinner
Chicken Curry
  • 2 lbs Boneless Chicken Thighs or Breasts, cleaned and cut into pieces
  • 1 large onion, peeled and quartered
  • 2 Green Bell Peppers, seeded and quartered
  • 6 large cloves Garlic, peeled
  • 12 oz can Tomato Paste
  • 13.5 oz can Coconut Milk
  • 2 teaspoon Salt
  • 1 Tablespoon Curry Powder
  • 1 Tablespoon Garam Masala (Indian Spice Mix found on the spice aisle)
  • 1/2 teaspoon red pepper flakes  
  • 1 bunch Cilantro leaves, minced
1. Saute chicken pieces in 2 Tablespoons butter in a large skillet until pretty much done.
2. Mince Cilantro coarsely in food processor—remove and mince the garlic in the processor. Remove.  Chunk up the onions and peppers in the food processor bowl, grind up (this is more than just chopping) and remove.  Spoon the paste and coconut milk into the processor and process together until the mix is smooth. Mix this into the ground up vegetables. (Note:  If you don’t have a food processor, just chop the vegetables as finely as possible, but it’s better to use a processor if you can).
3.  Add all the rest of ingredients into the sauce except the Curry, Garam Masala, and Cilantro.
4.  Pour sauce mix on top of the chicken in skillet and mix up.  Simmer on very low heat for about 45 minutes to an hour, stirring frequently to avoid sticking.  About halfway through, add the Curry and Garam Masala. If you add these spices too soon, the flavor will evaporate.
5. Top with minced cilantro and serve on Basmati rice with Naan Bread.  Serves 6.
Chicken Tikka Masala
You may be interested to know that Robin Cook, former British Foreign Secretary, declared Chicken Tikka Masala the national dish of the United Kingdom.

Marinate the Chicken

Cut 2 lb boneless chicken breasts or thighs into large chunks.  Coat with the following and refrigerate for at least 3 hours before grilling.  I get my hands right in there and rub it all over into the chicken.
  • 1 cup plain yogurt
  • 1 tablespoon lemon juice
  • ¼ tsp cayenne pepper
  • ¼ tsp ginger
  • ¼ tsp black pepper
  • ½ tsp Garam Masala  
  • ½ tsp salt
  • two large minced garlic cloves
Place meat chunks on wooden skewers that have soaked in water at least an hour, then grill until cooked through and slightly blackened in places. You want to see dark bits here and there on the chicken.  Remove from skewers and add to the sauce when it is almost done.  

For the Sauce

2 T Butter or oil
1 onion, chopped
2 cans diced tomatoes, undrained or two quarts home bottled tomatoes, with one bottle  drained and the other undrained.
1 can tomato sauce
1 cup cream
1 teaspoon salt  
1 1/2 teaspoon Paprika
¼ teaspoon Ginger
4 large garlic cloves, minced
½ teaspoon Cumin
3 teaspoons Garam Masala
¼ to 1/2 teaspoon Red Pepper Flakes

Melt butter in a large skillet and saute onion until lightly browned.  Add other ingredients (except cream and chicken) and simmer on low heat for 45 min or so. When ready to serve, stir in the cream.  Remove grilled chicken from skewers and add into the sauce.  Simmer a minute or two to make sure it's good and hot, then serve immediately.

Serve over Basmati Rice.  Serves 6.

How to make Basmati Rice for 6

2 cups Basmati rice
3 1/2 cups water
scant teaspoon Salt
1 Tablespoon Butter

First you need to rinse the rice.  Place the rice in a large bowl and fill with cool water. Swirl your hand through the water and the rice; the water will go cloudy.  Pour through a wire strainer (or any colander with small enough holes that you won’t lose the rice). Repeat this washing process until the water is clear. Usually, this takes 3 or 4 changes of water.

Fill up the bowl 1 more time and let the rice soak for 30 minutes.

Drain the rice well.  Put water in a large saucepan, add salt, and butter and bring to a boil.

Add the rice, stir, and wait until the water comes back to a full boil. When it does, turn the heat to low and cover. Cook for 15 minutes.

Turn off heat and let the rice sit for 5 or 10 minutes. Fluff with a fork.

OR if you have one, just use your Rice Cooker.  It comes out perfect every time in the Rice Cooker.

Wednesday, September 2, 2015

Recipe - Back to School Breakfast Burritos

This past Sunday a sister in our ward asked me if I would talk about a great idea she had for a healthy breakfast-on-the run for school kids--Frozen Breakfast Burritos.  The recipe she likes calls for healthy ingredients, such as spinach and black beans, but this can be easily tailored to the tastes of your family.  This is the first August in 25 years that I have not sent at least one child off to school, so thinking about kids' breakfasts and lunches is bittersweet for me.  My high school girls liked me to make homemade cinnamon bread frozen in individually wrapped slices they could slip into their backpacks, but right up through his senior year, my son was not above taking a full-sized packed lunch from home.  There are so many ideas for sending children off well-nourished and prepared for a great school day.  The important thing is that they actually eat what they take and that it isn't full of empty calories.  A high-protein breakfast is just the ticket to help them stay awake and alert in class all morning.  For most busy families, this will only happen if moms prepare ahead.

I decided to experiment with making a few breakfast burritos to see how well they rewarmed after being frozen.  I used eggs, sausage, potatoes, green chilies, cheese, and salsa for my filling, but you could use most anything--diced bell peppers, ham, bacon--whatever your little (and big) people enjoy.  I made mine quite large so we could have them for dinner tonight, but you could make them much smaller for your elementary aged kids.  You can make a whole bunch at a time, and they'll take only two or three minutes to heat in the microwave straight from the freezer.  I thought they turned out great--so much more tasty and healthy than a similar commercially prepared item.


Back to School Breakfast Burritos
Here are the ingredients I used:  Cooked, shredded potatoes, eggs, cheddar cheese, green chilies, sausage, tortillas, and salsa.
-First, brown a pound of sausage.  I like to use either Tennessee Pride or Jimmy Dean 1 lb rolls, as they are quite lean and good quality.  Make sure it gets good and done, and spoon off fat.  To get even more of the fat off, blot with paper towels.
-Remove sausage from skillet and add a bit of butter to the pan.  Add shredded cooked potatoes (either boiled with skins on then peeled or baked in foil and peeled and cooled--I used leftover boiled garden potatoes) and brown them a bit, seasoning with salt and pepper.  As an alternative, frozen hash browns can be used, but make sure to get them completely done before adding them to the burritos.
-Remove potatoes from skillet, wipe it out, and spray with cooking spray.  Add about 10 whole eggs and season with salt and pepper.
Scramble them right in the pan, so that you still see both the whites and yolks.
When they are almost done, add a can of green chilies if desired. 

-Lay out all the ingredients and start layering them into the tortillas as shown below:
-Tuck the ends of the tortilla in and fold over.  I'm not very good at this, so do it your own way.
Freeze in a zip-lock bag.
To reheat, remove one from freezer and place on a plate in the microwave with another plate or bowl on top to cover.  I made large burritos, and they took 4 minutes at level 7 power on my microwave.  
Top with additional salsa and/or guacamole if desired, or just enjoy as they are.