For those who couldn't quite bring themselves to try the squash blossoms from last week's post, I have a great summer dish for you that everyone can appreciate--
Creamed Yellow Crookneck Squash. During July and August we usually have some form of summer squash for dinner every night--from
Stuffed Zucchini to
Crispy Squash to just plain toss-it-in-the-skillet and saute in butter or olive oil. Creamed is how my mother always prepared Crookneck for us. You only need four things: First, the squash itself. As you can see, I pick mine while they are
still young and tender. No big-old-turning orange-bumpy squash for me.
Second, you need some butter, evaporated milk, salt and pepper, and your favorite 30 year old skillet with the broken handle. Nothing fancy here.
The next item you may not own, but I sure am glad for mine. It comes out of hibernation every summer to bring joy into my life once again. This slicer was manufactured back in 1952, when life was simple and most things didn't plug in. It's over 60 years old! This tool creates perfectly uniform slices of squash, resulting in more even cooking.
It literally only takes only minutes to slice up a whole big bowl of squash. But now I'm just bragging. You can use a regular knife and your finished product will be just as tasty as mine--I promise.
I love this original vintage box, which came with it at the DI, where I buy all my nifty little kitchen gadgets. (Who in their right mind would get rid of this?) The fine carbon steel blade has sliced effortlessly through hundreds of squash, and takes about 30 seconds to wash and put away.
At the risk of sounding like an old timer, they just don't make things
like they used to! I wouldn't trade this little buddy for anything, and
I care for it most tenderly, always taking it apart and cleaning the blade right
after using to protect it from corrosion. I don't really keep it in the
box, which I'm hoping to sell for use as a movie prop one day! Seriously, don't you love the charming graphics?
To view more photos showing Mom's simple and delicious method for making Creamed Yellow Crookneck, scroll down past the grocery listings.
Creamed Yellow Crookneck Squash
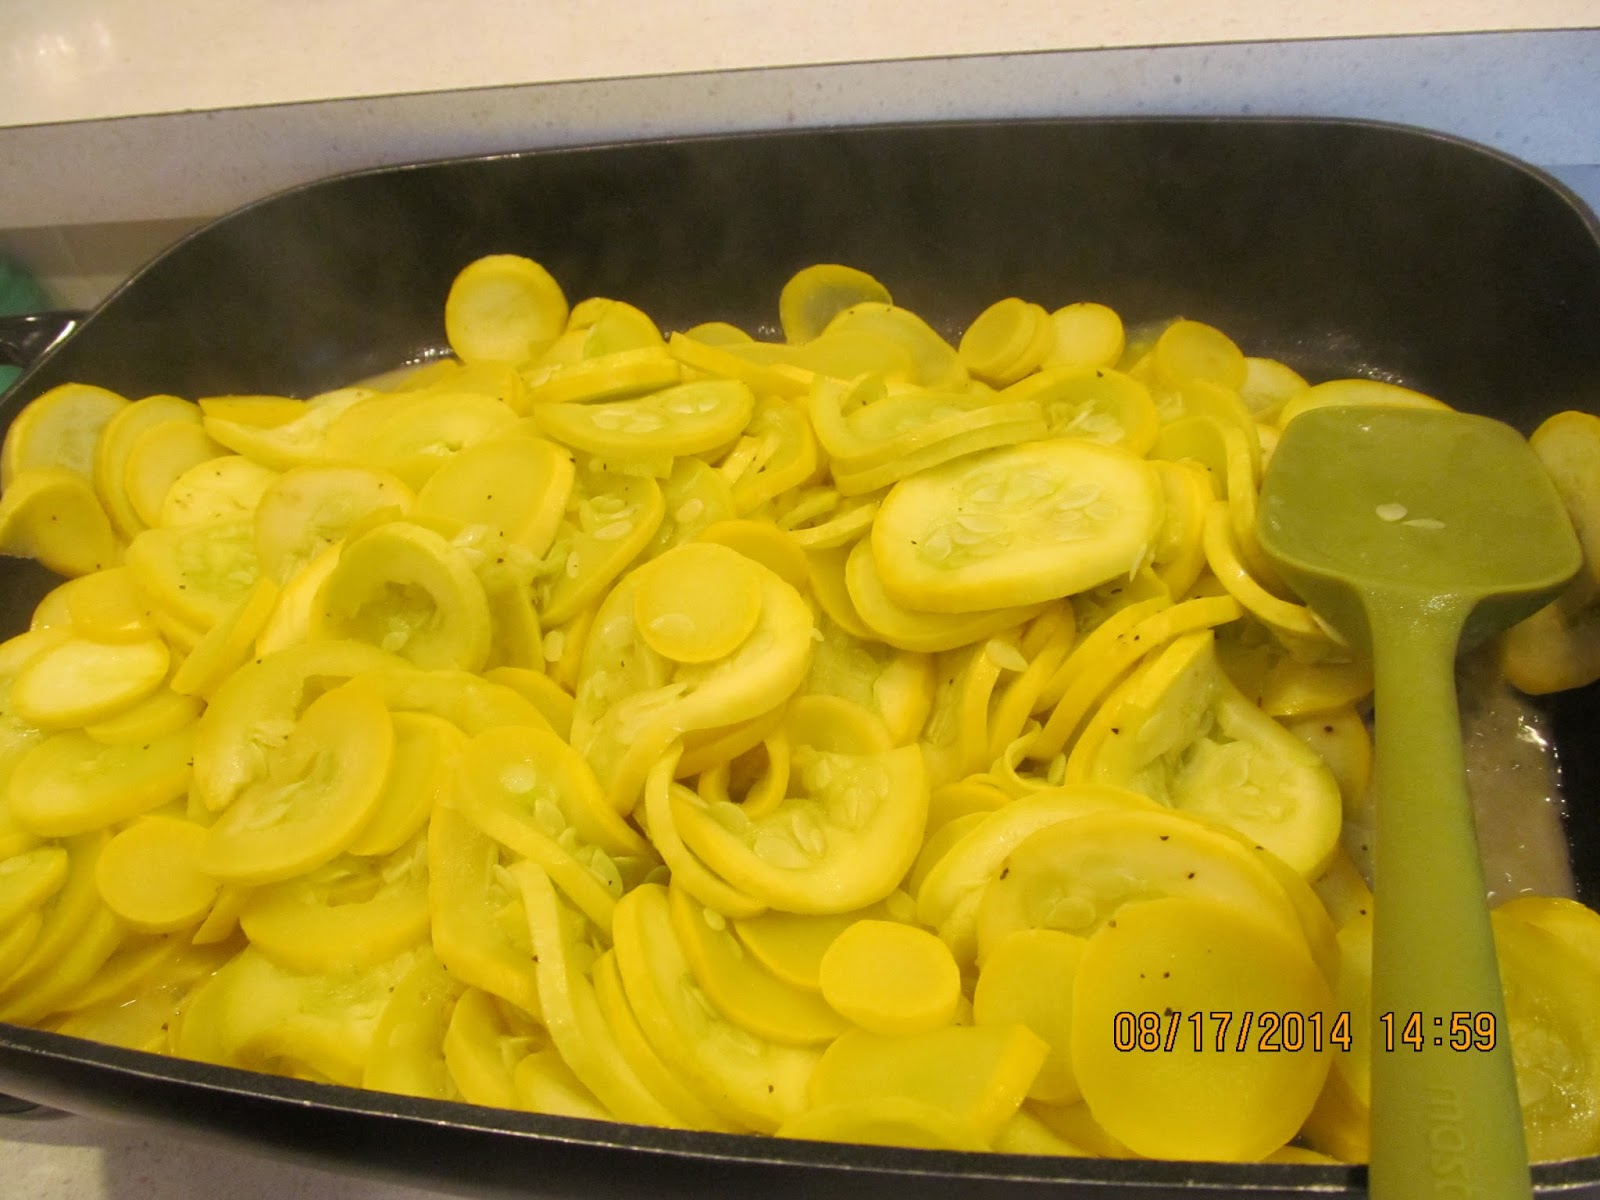
- First, slice your squash in about 1/8" to 1/4" slices, making them as uniform as possible. You can use any kind of slicer you have, or just a sharp, thin bladed knife.
Remember that it cooks down, so you need quite a bit.
-Next, melt about a half stick of butter in your pan. Sometimes I use an electric skillet for this.
-Add the squash in several layers to the pan, salting and peppering between each layer.

-At this point, turn the pan to low, put on the lid, and let steam a bit to get it going good. It will start to shrink as water comes out of the squash.
Stir occasionally. After awhile, you will want to remove the lid to start drying up the excess liquid.
I fried some pork chops at the same time. I have been relying on my electric skillets while my kitchen is torn apart. This was a very easy dinner. We had the pork chops and we had large servings of squash. That was it! The boys were perfectly happy.
Whenever I fry pieces of meat in a pan like this, which isn't very often, I think of my Grandma. She was a fabulous cook, but Grandpa was a simple, meat and potatoes kind of guy. Whenever I wandered into her kitchen around suppertime, she had their places neatly set at the counter and was frying something at the stove. It always smelled wonderful, warm, and welcoming, like all was right with the world. I remembered those feelings while I was cooking us these pork chops.
But I digress. It will take about a half hour, but you want to let the squash get well done. Forget the crisp-tender rule--this isn't a restaurant! Mom actually doesn't add the milk to hers until bits of brown start showing up. I tend to take mine off the heat a bit sooner, but I love how she does it too.
Now it's time to add the canned milk. But first taste it and see if it needs more salt and pepper. I like lots of pepper. If it tastes good, just pour some milk in right out of the can with it still bubbling over the heat. You will be able to tell when it's enough. It will thicken right in with the squash and make it creamy, but not at all soupy.
Let it cook a bit more, then remove from heat and serve immediately. Enjoy!


You'll never know how much I love your help with grocery shopping and cooking great dishes. What a lot of work you go to, with so many nice pictures. Can't wait to try the squash recipe. But, how about if I cooked my lasagna noodles before putting them in the crock pot. I worry there is not enough liquid and it will be dry. Thanks again for all your work. Many people are benefiting. Love, Sally Hunsaker
ReplyDeleteThanks Sally! You could definitely pre-cook the noodles; however, it would add a bit more work (and a dirty pot). Plus, I worry that the noodles would get overcooked by the time the rest of the lasagna was done and just fall apart. The sauce and vegetables tend to provide enough moisture to cook the noodles; however, you could add a bit more water to the amount suggested when you rinse out your sauce jars if you are worried about it becoming too dry. Good luck!
ReplyDeleteI *loved* seeing your slicer!!! I got one just like it, for a wedding gift around 1956. Cannot even imagine where it went to! This was my first year without a few pots of veggies growing, including my favorite heirloom tomatoes, but I get them from time to time at my farmer’s market. Thanks for the memories!!!
ReplyDelete