Applesauce Weekend has come and gone, but as promised I faithfully recorded the event for you all to see. If you missed last week's post and are interested in trying this for yourself, be sure to see Part I, which talks about the essential
Victorio Strainer.
Here are the fruits of our labors, all sealed and ready for the storage room. The grand total added up to over 80 quarts of applesauce and apple pie filling and involved a team of six of us over the better part of two days to finish the job.
First of all, make delicious breakfast sandwiches for your team as they arrive at the crack of dawn. This makes for a happy, well-fed crew who willingly work their fingers to the bone all day with smiles on their faces.
Now let's get to work!
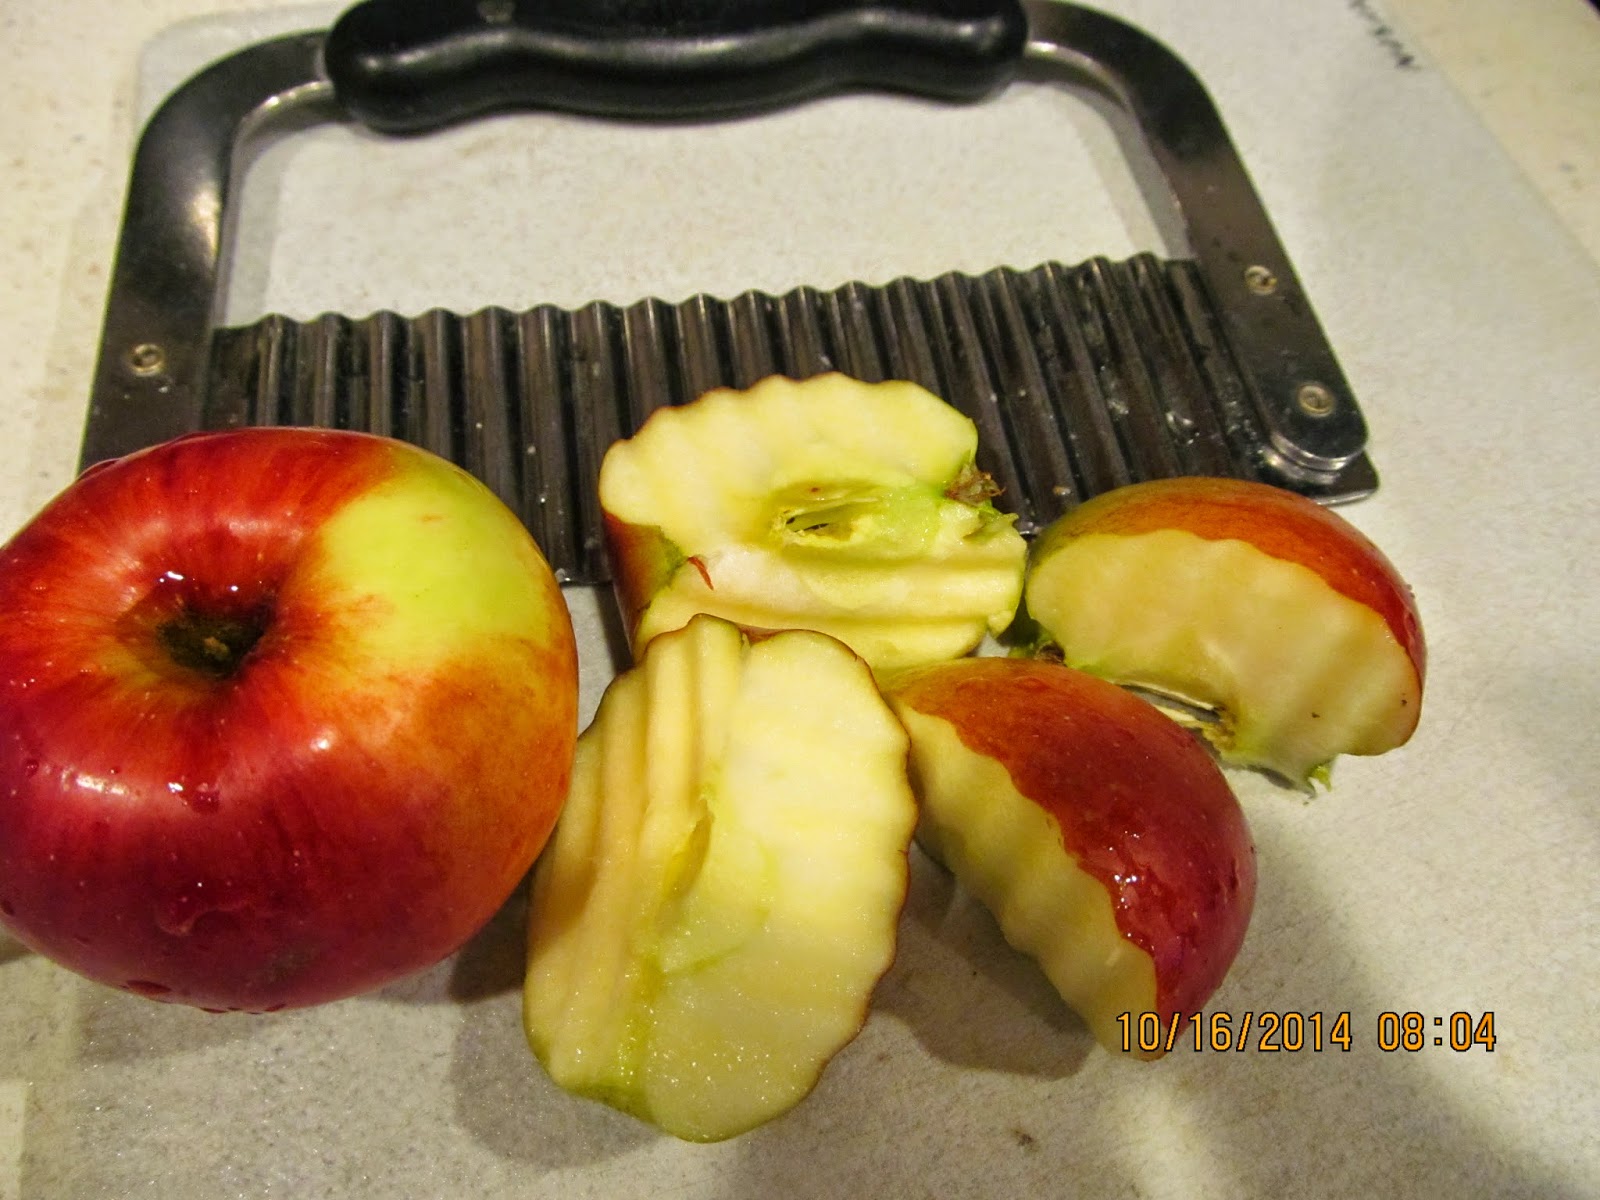
Step 1: Wash the apples. We used all Jonathan apples for our sauce.
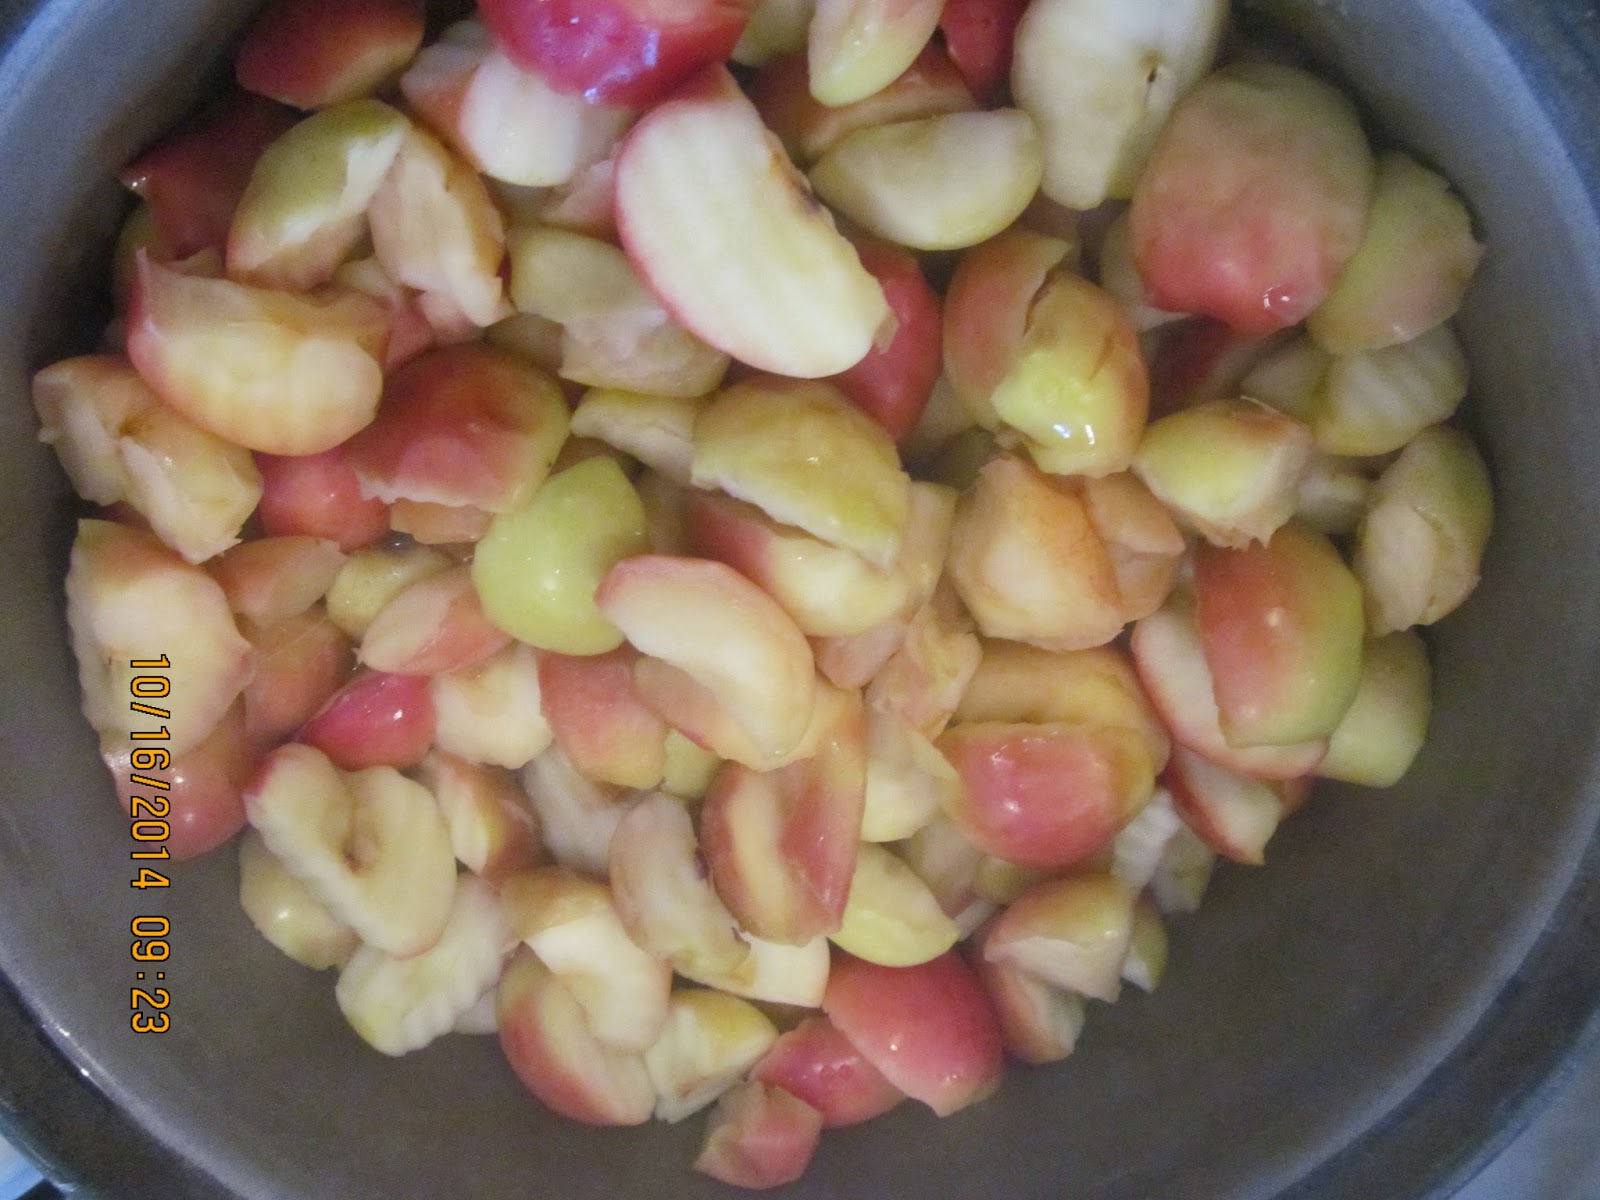
Step 2: Quarter the apples. No need to remove cores, seeds, or skin, as these will be removed in the strainer. You do have to remove stems, that little bit of fuzz at the bottom of the apple, and any worm holes.
Step 3: Place quartered apples in a large, heavy bottomed pot, add a small amount of water, and cook, covered, on medium heat. Be sure to stir often, especially until the apples start releasing some water, as you don't want them to scorch. Nothing is more sad than ruining a pot of apples this way!
Step 4: When the apples start simmering, turn heat to medium-low and steam for about an hour until the apples are very soft. We did some of the apple cooking and all of the straining out in the garage.
Step 5: Using a large scoop of some kind, fill the funnel of the Victorio Strainer with the cooked apples, and turn the crank. This is Grandpa's job.
As you can see from photos below, the applesauce comes down the chute and the core, seeds, etc. are squeezed through the end of the strainer and discarded.
This is what comes out the end of the strainer and gets thrown away.
Step 6: After the bowl is full, add the desired amount of sugar (just taste it until it's the sweetness you like).
Step 7: Fill the clean jars, clean off the tops, and seal.
Step 8: Process in a boiling water canner, completely covered with water over the tops of the jars, for 30 minutes.
After the jars have cooled overnight and sealed, remove the rings and store in a cool, dark place.

See you next week!


 St
St


No comments :
Post a Comment