
Good Morning Sisters:
Because my oldest daughter's birthday falls close to Labor Day, she always returns home for what we have come to refer to as "Birthday Weekend." We actually follow a list, the same one every year, which she created herself years ago. It includes all her favorite activities, outings, and food. Even though a certain amount of sibling grumbling has been known to surface involving "Birthday Weekend," deep in their hearts they know that I do my best to fulfill everyone's birthday wishes once they are made known! Along with a Cafe Rio lunch to which she treated her birthday guests, we also enjoyed two of her favorite meals--Baby Back Ribs and Fried Chicken with Mashed Potatoes and Chicken/Parsley Gravy.
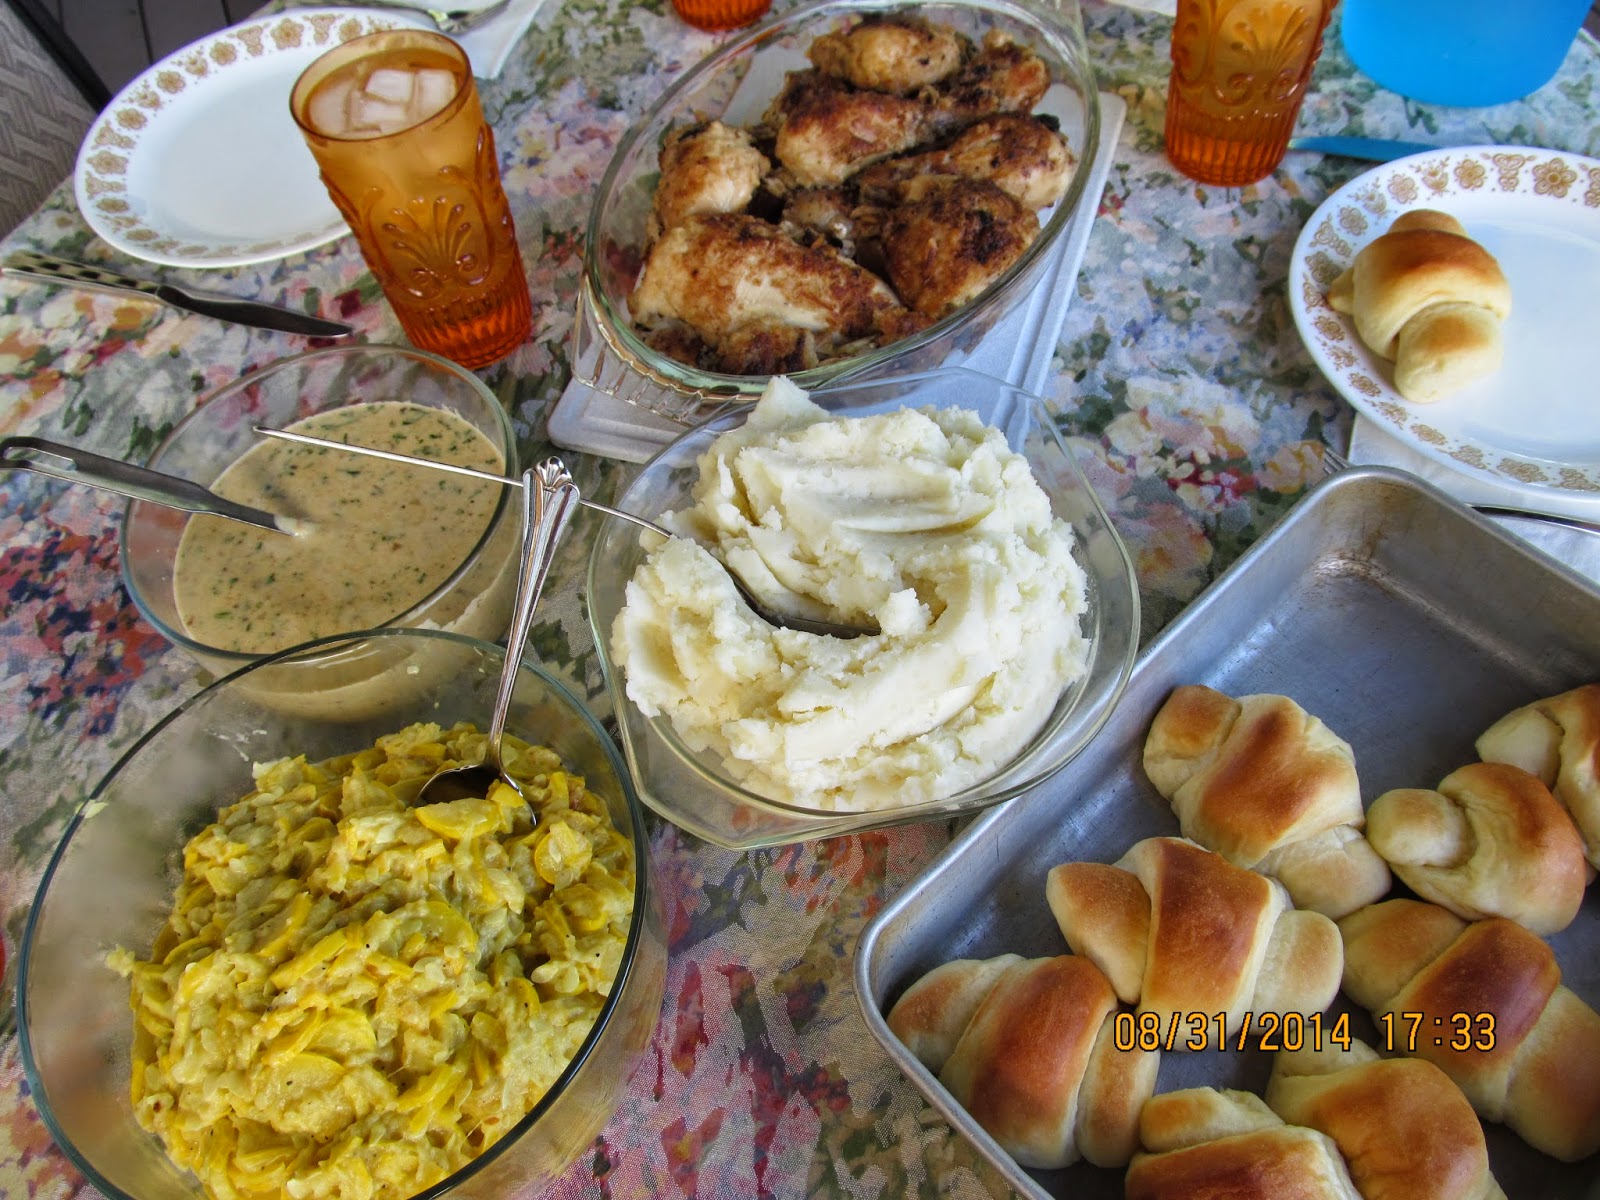
This is one of those old-fashioned family dinners that that everyone pines for when they move away--eventually calling home desperate for instructions! The birthday girl and I spent some time Sunday afternoon photographing the process to share with you. Traditionally, fried chicken is immersed in oil and cooked to crispy with the skin left on--quite high in fat and calories. This chicken is somewhat healthier, as it is skin-free, baked (after being browned briefly in a skillet), with a softer, very tender consistency. It goes perfectly with mashed potatoes and creamy chicken-parsley gravy--a truly old-fashioned comfort food you can be sure everyone will love.
Sunday Chicken Dinner

Things you will need to make the whole dinner:
Chicken Pieces (breasts, thighs, legs)
Flour
Canned (evaporated) milk
Regular Milk
Chicken bouillon cubes OR canned chicken broth
Chicken gravy packet(s)
Russet Potatoes
Minced fresh (not dried) parsley leaves
Cooking oil, butter, salt and pepper
1. Remove skin from chicken. It's very helpful to use paper towels to help grasp the slippery skin to pull it off. Scrap off any underlying fat with a sharp paring knife.


3. Get out a large, heavy bottomed skillet and pour in some cooking oil and butter (about 1/4 inch of oil and 2 or 3 tablespoons of butter). Heat on medium high, but don't let it get hot enough the butter burns. Pull it off the heat a minute if it starts getting too hot before you can start adding the chicken.

4. Using your "Piggy" (or tongs), dip pieces of chicken first in the canned milk, then the flour.


5. Brown chicken in skillet, generously salting and peppering on all sides. Remember the chicken will not get nearly done--you are just browning it quickly.

6. Lay the browned chicken out in a roaster pan.

7. Add a half cup of water or so to the empty pan and simmer, scraping the pan with a spatula to get all the browned pieces from the pan.

8. Pour this over the chicken in the roaster.

9. Cover chicken and bake at 350 degrees for at least an hour to an hour and a half (depending on how much chicken and how big the pieces are). Also, at this point if you want to put in fridge to finish after church, you will need more oven time because the pan and chicken will be cold.

10. The potatoes can be peeled, cut, and kept covered with cold water for up to several hours. You can do them before church and keep in fridge, or even on the counter if the water is very cold.
11. When you cook the potatoes, start them in cold water so they will cook evenly. They are done when pierced easily with a toothpick, or when they break when pierced with a fork. It takes about a half hour. I use enough salt to fill the crook of my palm as shown. After they are mashed, taste them and add additional salt as needed. It takes more than you might think, but better to go slow and taste than overdo it and ruin them.

12. While the potatoes are cooking, get ready for the gravy. Start by making the thickener, which is comprised of just warm water and flour. If you have a shaker like I do, use that; if not, a whisk and bowl work fine, as does any jar with a tight fitting lid. Regardless of what you use, you will need to strain out any lumps. If it's too thick, just add more water--if too thin, more flour until it looks like heavy cream.
13. Set this aside. Now dissolve some bouillon cubes in a little water by heating it in microwave then smashing to dissolve. Or you can use canned chicken broth. Next, mix a packet or two of chicken gravy mix into about a 1/2 cup of cool water (just enough to dissolve it--you aren't following pkg directions for making it into gravy). Set aside.

15. Remove the chicken from the pan and carefully place on a oven proof glass pan or platter. Keep warm in a 200 degree oven while you make the gravy and mash the potatoes.

16. Here is what the bottom of the roaster will look like as you get ready to make your gravy:

17. Scrape all along the edges and sides of the pan. Don't worry what it looks like--it will have bits of chicken and coating that all work together to make up the gravy. Start adding the other ingredients: bouillon or broth, canned milk, gravy mix, potato water.
(Note: Before draining the potatoes for mashing, add a cup or so of the potato water into the gravy. Don't forget and drain the potatoes too soon--the trouble my dad used to get in for throwing away the potato water prematurely is legendary!)
19. Now mash the potatoes. At this point I should mention that our family has never added butter to mashed potatoes. I do add some canned milk, and about twice that amount of regular 1% milk. I use a nice stainless steel potato masher, not an electric mixer like I've seen some people do--I think it's easy to make the potatoes turn out gluey when you use a mixer. They should have a firm, not completely smooth consistency. Taste and add more salt if needed, then they are ready to serve. That's it.
20. Okay, I think everything is ready to eat! In compiling this, I realize it looks like a million steps, but it really is easy and once you do it, you won't need the instructions again. Remember, this is how your grandma or great grandma cooked for her family, probably every day, and I think it's nice sometimes to recreate their delicious dinners ourselves! I know I always think of my mom and grandma when I make the foods they taught me as a little girl, and I hope my own girls do the same. Enjoy! I know your family will.

See you next week!
No comments :
Post a Comment