I know some people make Lasagna all the time, but to me it's always been a highly labor-intensive, maybe once-a-year project. It involves so many steps and has so many ingredients--at least my entirely from scratch recipe does. A couple of weeks ago I bought a big container of Ricotta cheese with full intention of devoting a long afternoon sometime to making the homemade meat sauce, boiling noodles, and assembling the various cheeses and other ingredients for this family favorite.

My enthusiasm soon waned. Every time I opened the fridge, that container of Ricotta taunted me. It kept making annoying comments like, "You're never going to turn me into a beautiful lasagna in that nifty deep-dish orange casserole you got last Christmas, are you? You're going to just let me sit here and get past date, because face it, you don't know what else to use me for, do you now?" No, Ricotta, I do not. It's Lasagna or nothing, and I'm really not feeling ambitious enough in the middle of a hot July for such a task. That's when it hit me. . .
My sister once had us over for a lasagna she made in her crock-pot. No noodle boiling, no slow-simmering of the sauce. She used Ragu and frozen large Raviolis, and it was delicious! I decided to do something similar, only without buying the frozen ravioli and just using regular, uncooked lasagna noodles. So I started my usual Internet sleuth where I read dozens of recipes for ideas, finally coming up with something I think my family would like and you would too! So here's my
Slow-Cooker Spinach Lasagna. I tried it on Saturday and it turned out pretty darn tasty, if I do say so myself. If you feel so inclined, try my plan as outlined below. It feeds a crowd (8 to 10 people), so cut it in half for a smaller group if you don't want leftovers.
Slow Cooker Spinach Lasagna
Ingredients:
- 1 1/2 to 2 lbs Ground Beef
- 2 (24-oz) jars of Ragu, Classico,
or other good quality pasta sauce (rinse out each jar with ¼ cup water)
- 32 oz container of Ricotta Cheese
- 1 lb shredded
Mozzarella cheese
- 1 cup Parmesan cheese
- 2 eggs
- 1 pkg fresh baby spinach
- ½ to 1 lb Mushrooms
- ½ bunch fresh Parsley leaves
(optional)
- ½ teaspoon Italian Seasoning
- ½ teaspoon Oregano
- ½ teaspoon Salt
- ½ teaspoon Garlic Salt
- ½ teaspoon Black Pepper
- 1 pkg Lasagna Noodles
Here's basically what you need. Feel free to add other ingredients or seasonings to suit your family's preferences.
Brown your Ground Beef, seasoning with salt and pepper as it cooks. Drain off any fat or liquid.
Add 2 jars of your favorite
Pasta Sauce, any variety, rinsing out the jars with 1/4 cup water each. Add any additional seasonings you would like. I added garlic salt and oregano.
Let simmer a bit.
Thanks, Stacey, for my nifty pan-rest spoon! While the sauce is simmering, mix your Ricotta with beaten eggs, Italian Seasoning, and salt and pepper.
Spray the inside of a large slow cooker with cooking spray.
Wash and slice mushrooms and wash and remove stems from parsley.
This year I decided to try a different variety of basil. The leaves are really small. Growing herbs on my patio makes me feel like one of those TV chefs! (Have you noticed they never seem to wash their fresh herbs? Well I do!)
I used some of this in my lasagna, but you can also throw in some dried basil. Here I have everything ready for assembly:
Now here's where it got a little out of control for me. I kept forgetting what layer I was on (and in my big old crock-pot, there was room for lots of layers!) So finally I just starting stacking things up at random until my ingredients were gone. The following pictures show my progress as the stack got higher and higher--clear to the top of the pot! The only thing important is that you start with sauce on the bottom and end with sauce on the top (adding the final layer of cheese when it's done). Other than that, just stack away! One other thing . . . I didn't use the whole bag of spinach or the whole box of noodles--it was just a bit too much. You can use your discretion. Here goes! First the sauce . . .
Break the noodles as needed to fit.
And spread the Ricotta mixture
quite thinly--so that you can do lots of layers, and also because it tastes better when it's not too thick.
Spread it out . . .
Then keep movin
' on up!
How about some
Mozzarella now?
Don't forget the spinach! It cooks down, so you need quite
a bit.
Now some more meat sauce . . . and mushrooms . . .
Mo
re noodles . . .
It just kept getting deeper
!
I'm not even showing
all the pictures I took.
I was getting a little scared it wouldn't all fit.
One more layer of cheese . . .
More spinach and some parmesan . . .
Noodles? I think this is where I went a bit over
board.
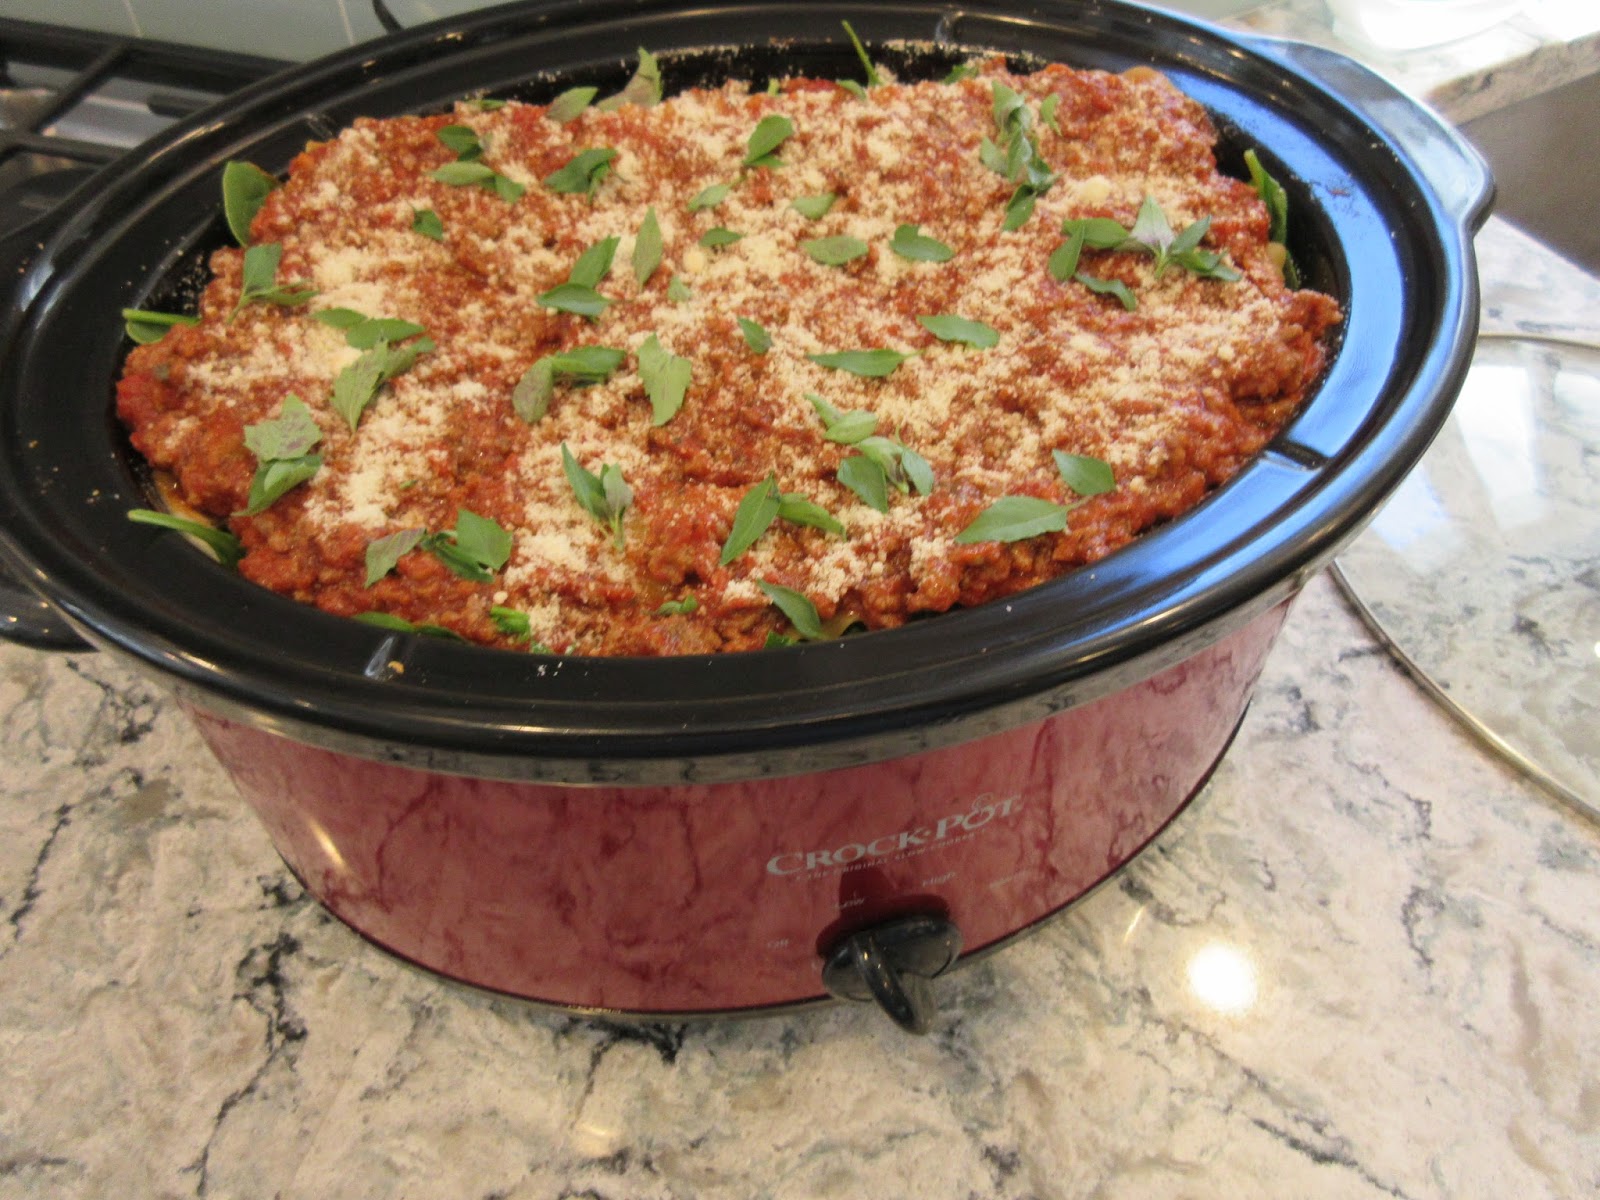
And finally . . . the rest of the sauce.
And a sprinkling of my fresh basil and parmesan. Remember to save a cup or so of the M
ozzarella to go on the top when it's almost done.
Pop the lid on, turn to
LOW, and don't open for 4 hours. (Don't be tempted to speed it up by turning it to high--it will probably burn on the sides).
This would work well fo
r Sunday because it could cook all during church. After four hours, poke a butter knife straight down through the center and make sure the noodles are done. If they are,
either keep on warm until ready to serve, or add the rest of the cheese on top, replace the lid, and turn off for 15 or 20 minutes so it can set up good for cutting (or more like spooning).
(Don't expect to get beautiful squares, as the shape of the pot and deepness of the lasagna doesn't really lend itself to that). As you can see from my photos, it holds together well, but if you go clear to the bottom for each piece, it will probably tip over on your plate, which is OK too.
I also made
creamed summer squash from my first little tender yellow crooknecks of the season.
If you are interested in how I make my squash, go
HERE.